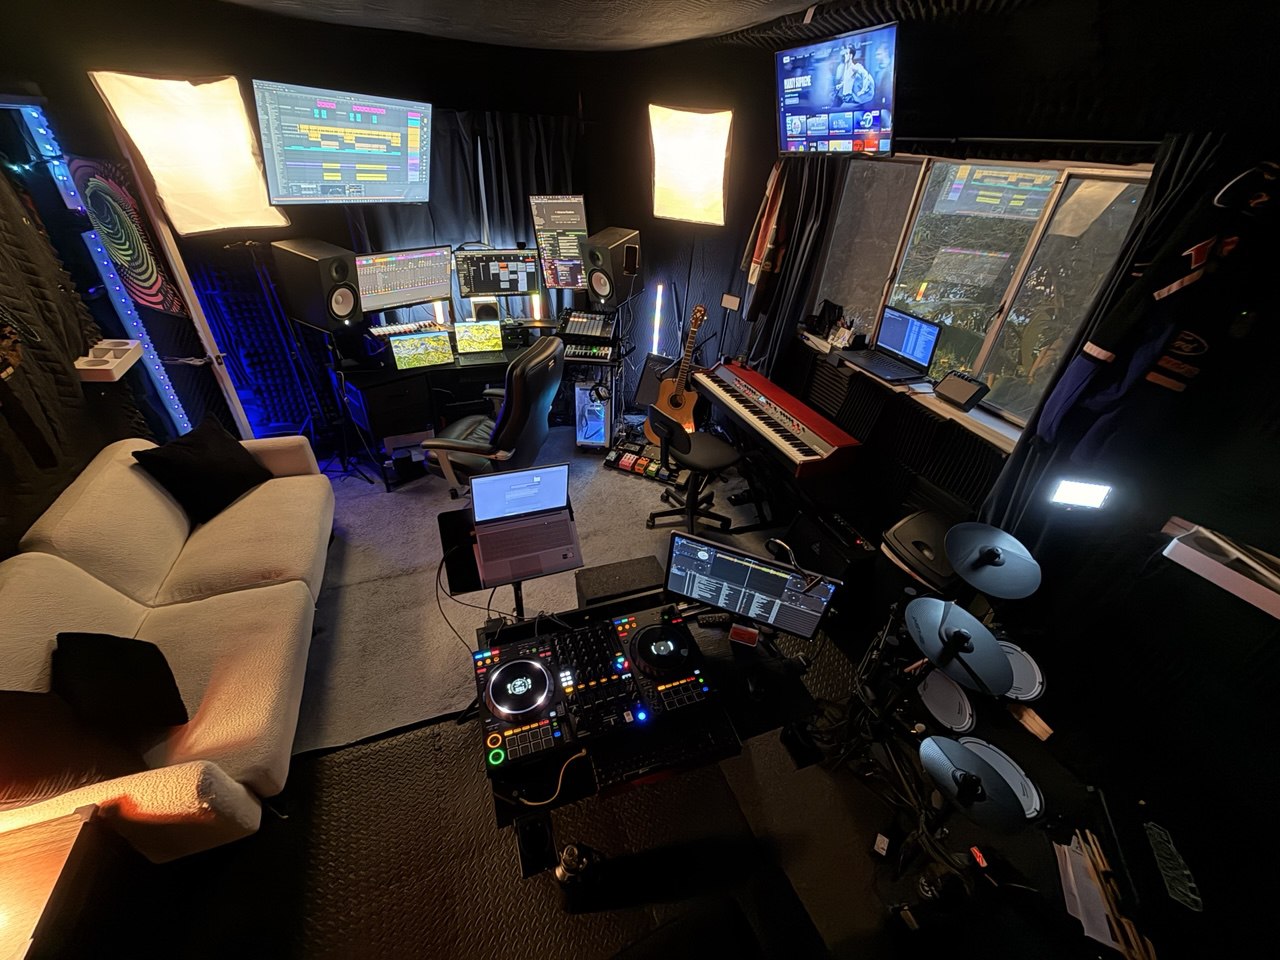
What you will make: a short track with a drum foundation, one bass, chord, or melody part, at least two sections, a rough balance that doesn't clip, and an export you can listen to outside Ableton. That's the whole goal.
I'm skipping third-party plugins, mastering, sound design, and controller setup on purpose. Use whatever kit or instrument came with your edition. Browser labels and included devices shift a little between editions, but the music steps don't.
Before you start: keep the session simple
- Open a blank Live Set and save it right away, with a name you'll recognize next week.
- Press Tab until you're in Arrangement View, the left-to-right timeline.
- Preview an audio sample in the Browser. Drag it onto an audio track, press Space, and make sure it's coming out of the headphones or speakers you actually plan to use.
- Stick to stock sounds. A new plugin has never fixed a song that doesn't know where it's going.
If the track is all software instruments and samples, your computer's built-in audio is fine. An audio interface earns its spot once you need mic or instrument inputs, direct monitoring, or steadier low latency. A USB mic or a keyboard with USB can often plug straight in without one.
Tutorial 1: Learn the five parts of the screen you need today
- Browser: where the sounds, instruments, effects, and files live.
- Tracks: the horizontal lanes that hold audio or MIDI.
- Timeline: the song, left to right, start to finish.
- Clip editor: notes, timing, and clip details.
- Device area: the instrument or effect shaping that track.
Don't tour every panel. You'll forget it by Thursday. Preview an audio sample in the Browser and drag it onto an audio track. If you'd rather use an included instrument or drum kit, drag that onto a MIDI track. Double-click the clip and its editor opens at the bottom of the screen.
Done when you can find a sound, put it on a track, and get to where it's edited.
Tutorial 2: Build a basic drum foundation
Pick one route. Audio: preview a drum loop in the Browser, drag it onto an audio track, hit Space. MIDI: drag an included drum kit onto a MIDI track, select a one- or two-bar range in the timeline, and press Cmd-Shift-M on Mac or Ctrl-Shift-M on Windows to make a MIDI clip. Double-click the clip, then double-click the note grid to add hits.
Kick and snare (or clap) first. Hi-hats only once that pattern feels steady. Select the clip and press Cmd-L on Mac or Ctrl-L on Windows to loop it while you work. If an audio loop drifts off the Set tempo, open the clip and check that Warp is on.
Done when the beat repeats cleanly and you can add, move, or delete one hit on purpose.
Tutorial 3: Add one bass, chord, or melody part
Add a MIDI track and load one included instrument. Give it one job. Bass that sits under the drums, a chord bed, or a short melody. Pick one. And remember MIDI notes are silent on their own, so if you hear nothing, there's probably no instrument on the track.
Use fewer notes than you think. Change one note's pitch, length, or timing and listen to what that did. A simple part that locks with the beat is worth more than a busy one that just fills the screen.
Done when you can mute the new part, hear what goes missing, and honestly prefer the drums with it.
Tutorial 4: Turn the loop into an arrangement
Copy your loop across the timeline. Then make contrast by taking things away before you add anything:
- Start thin.
- Bring in the main drum or musical idea.
- Change one section by swapping or pulling out a part.
- Come back to the main idea.
This is the step that turns a loop into a track. Someone listening should hear it change over time without you sitting there launching clips.
Done when there are at least two sections you can tell apart and a real ending.
Tutorial 5: Make a rough balance
Set your headphones, speakers, or computer output to a comfortable level first. Then in Live, pull the track faders down and balance them against each other. Keep the Main or Master meter out of the red, and make sure the most important part is still easy to hear.
Only pan something if moving it left or right actually helps. Only add EQ, reverb, or anything else if you can say what you want it to change. A rough mix here just means the important parts are clear from start to finish. That's it.
Done when every important part is audible and the Main or Master output never clips.
Tutorial 6: Name, save, and organize the project
Name tracks by what they do. Drums, Bass, Chords, Lead. Save the Set somewhere you'll find it again. A normal save stores the Set, but it doesn't always copy every outside sample into the Project, so if you plan to move or archive the session, read Ableton's current notes on Collect All and Save.
Done when you can close it, find it again, and know what every track is for.
Tutorial 7: Export the sketch and listen away from the session
- Play it from the top and leave room at the end for any reverb or delay tail you want to keep.
- Select the Arrangement range you want.
- Open File > Export Audio/Video.
- Export the Main or Master output, whichever your Live version calls it.
- Listen to the file outside Ableton, in the car or on your phone, and write down one musical change for next time.
Exporting audio and saving the Live Set are two different things. Do both.
Done when you have an audio file and one specific thing to fix.
If something is not working
I cannot hear anything
Check the audio output, the track volume, the Main or Master volume, and whether the track is muted. On an interface, make sure Live is actually pointed at it.
The MIDI clip makes no sound
There's probably no instrument on the MIDI track. Load one. Then check that the notes sit in a range that instrument plays.
The loop works, but the song never develops
Go back to the arrangement step. Take a part out, shorten a section, or build one contrast before you add another sound.
Everything sounds crowded
Mute everything and rebuild around the main idea. More tracks don't make it hit harder.
What to learn next
- Session View and clip launching
- Recording and editing audio
- Drum programming and groove
- Arrangement and transitions
- Basic EQ and compression
- Finishing a full track, start to export
For the official reference, Ableton's Learn Live videos, the Learning Music exercises, and the current first steps manual are all good. But finish this sketch first. A small finished track teaches you more than a perfect unfinished one.